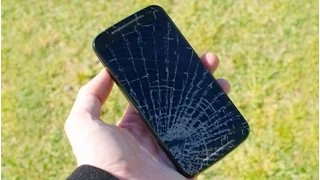
Is Moto g2 LCD broken or the touch unresponsive? Fix it yourself now! The video will show you how to replace Moto g gen 2 LCD screen step by step.
0:05 Step 1 Power off 0:10 Step 2 Remove back cover (It is easy to remove from the charging port by fingernail or guitar pick.) 0:15 Step 3 Remove 14 torx screws by T5 torx screwdriver. (Tips: The screws come in two sizes. Don’t mix up them.) 0:19 Step 4 Remove back housing (It can be removed easily after releasing screws.) 0:25 Step 5 Take away power and volume buttons (So easy) 0:29 Step 6 Release LCD screen connector 0:40 Step 7 Separate screen from front housing Start from the bottom. Heat up it at 150°for 3 minutes. Heat up left side at 100°for 1 minutes. Heat up again if it can’t go on. Release right side in the same way. Heat up the top at 150°for 2-3 minutes. 2:16 Step 8 Install new LCD with digitizer You need a new front housing adhesive sticker to combine the screen and front housing. 2:55 Step 9 Put power button and volume button back 2:59 Step10 Put back housing back 3:02 Step11 Put 14 torx screws back 3:05 Step 12 Install back cover